微服务之kong+consul(二),
一、kong
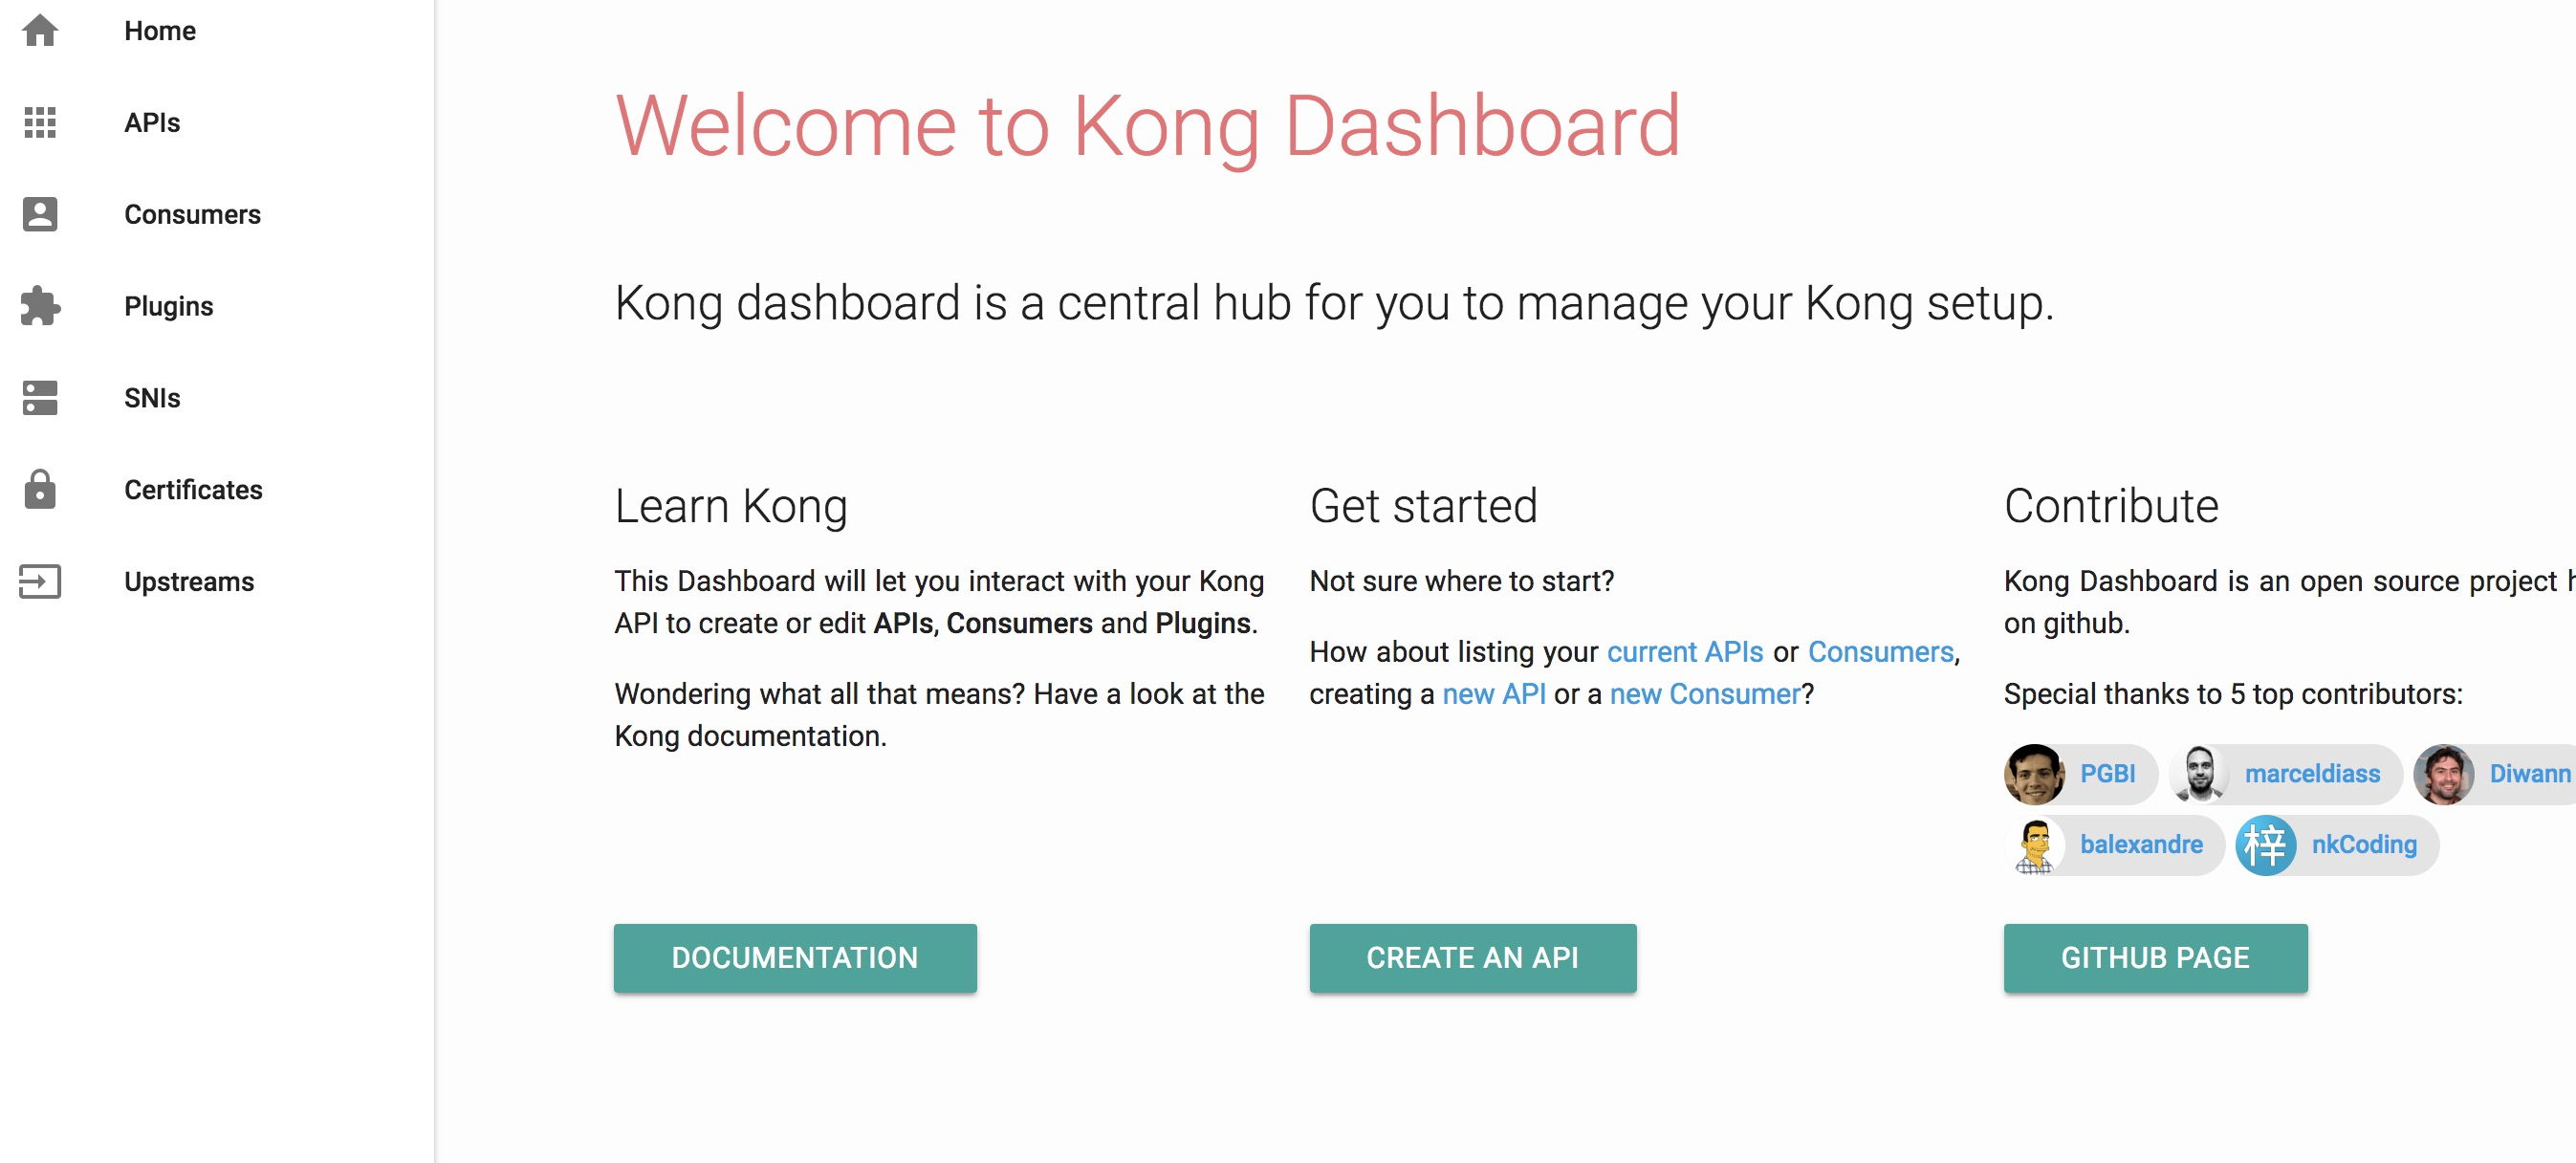
1、使用kong来做服务网关,目前kong使用的是0.13版本现在地址:https://docs.konghq.com/install,kong的社区版没有dashboard,可以使用kong-dashboard,项目地址:https://github.com/PGBI/kong-dashboard。方便使用和管理。目前kong还不支持直接代理grpc,nginx-1.13.10以后版本开始支持代理grpc。kong0.13使用的是1.13.6,以后会支持grpc代理。
2、简单安装使用
使用yum安装,设置repo:
# cat kong.repo
[kong]
name=kong
baseurl=https://kong.bintray.com/kong-community-edition-rpm/centos/7
gpgcheck=0
enabled=1
#yum -y install kong
@配置kong:
Kong supports both PostgreSQL 9.5+ and Cassandra 3.x.x as its datastore.
本次使用的是postgresql9.5.需要提前安装,使用yum安装,配置repo:
#cat pgdg-95-redhat.repo
[pgdg95]
name=PostgreSQL 9.5 $releasever - $basearch
baseurl=https://download.postgresql.org/pub/repos/yum/9.5/redhat/rhel-$releasever-$basearch
enabled=1
gpgcheck=1
gpgkey=file:///etc/pki/rpm-gpg/RPM-GPG-KEY-PGDG-95
[pgdg95-source]
name=PostgreSQL 9.5 $releasever - $basearch - Source
failovermethod=priority
baseurl=https://download.postgresql.org/pub/repos/yum/srpms/9.5/redhat/rhel-$releasever-$basearch
enabled=0
gpgcheck=1
gpgkey=file:///etc/pki/rpm-gpg/RPM-GPG-KEY-PGDG-95
#yum install postgresql95-server postgresql95-contrib
@初始化数据库 # /usr/pgsql-9.5/bin/postgresql95-setup initdb # systemctl enable postgresql-9.5.service # systemctl start postgresql-9.5.service @PostgreSQL数据库默认会创建一个linux系统用户postgres,通过passwd命令可设置系统用户的密码: # echo "postgres" | passwd --stdin postgres @修改PostgresSQL数据库配置实现远程访问: 修改postgresql.conf文件: # vi /var/lib/pgsql/9.5/data/postgresql.conf将listen_addresses='localhost'修改为listen_addresses='*'
@修改客户端认证配置文件pg_hba.conf: 将需要远程访问数据库的IP地址或地址段加入该文件。将ipv4区下的127.0.0.1/32修改为0.0.0.0/0,将ident修改为md5。
#ipv4 local connections
host all all 0.0.0.0/0 md5 @创建账号和数据库 # su – postgres #bash发生变化,变成了-bash-4.2$ -bash-4.2$ createdb kong -bash-4.2$ createser kong -bash-4.2$ psql postgres=# \password kong 输入新的密码: 再次输入: postgres=# alter database kong owner to kong; postgres=# \q @连接posqtsql -bash-4.2$ psql -d kong -U kong -h 127.0.0.1 –W 3、配置kongproxy_access_log = /data/kong/logs/access.log
proxy_error_log = /data/kong/logs/error.log
admin_access_log = /data/kong/logs/admin_access.log
admin_error_log = /data/kong/logs/admin_error.log
proxy_listen = 10.10.29.43:8000, 10.10.29.43:8443 ssl
admin_listen = 10.10.29.43:8001, 10.10.29.43:8444 ssl
database = postgres
pg_host = 10.10.29.43
pg_port = 5432
pg_user = kong
pg_password = kong
pg_database = kong
dns_resolver = 10.42.11.101,10.42.12.247,10.42.5.28,10.42.3.96
dns_order = SRV,A,CNAME
cat /usr/sbin/kong-dashboard
#!/bin/bash
nohup docker run -p 8081:8080 pgbi/kong-dashboard start --kong-url http://10.10.29.43:8001 --basic-auth huoqiu=hqkong &
二、consul
http://www.cnblogs.com/cuishuai/p/8194345.html